Secure online payments
Our Christmas Card Bundle is ideal for those wishing to create a bespoke Christmas Card this Festive Season.
Fancy sending a festive creation to someone special but, not sure where to start?
Our Christmas Card Bundle has all the essential items to help you handcraft something unique this Xmas!
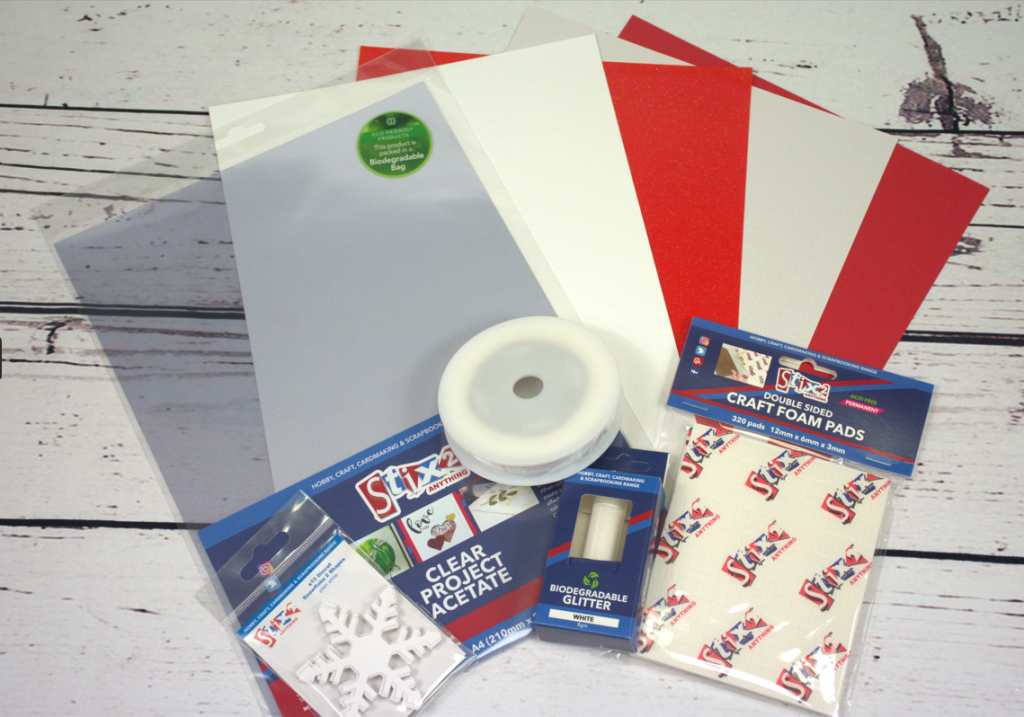
Christmas Card Bundle includes:
1 sheet of Red Glitter Stardust A4 Paper
1 sheet of Post Box Red Tinted A4 Card
1 sheet of White Hammer Embossed A4 Card
1 sheet of Snow White Pearlescent A4 Card
1 roll of White Satin Ribbon
1 pack of Clear Project Acetate Sheets (5 per pack, size: 210mm x 297mm)
1 pack of Craft Foam Pads (320 per pack, size: 12mm x 6mm x 3mm)
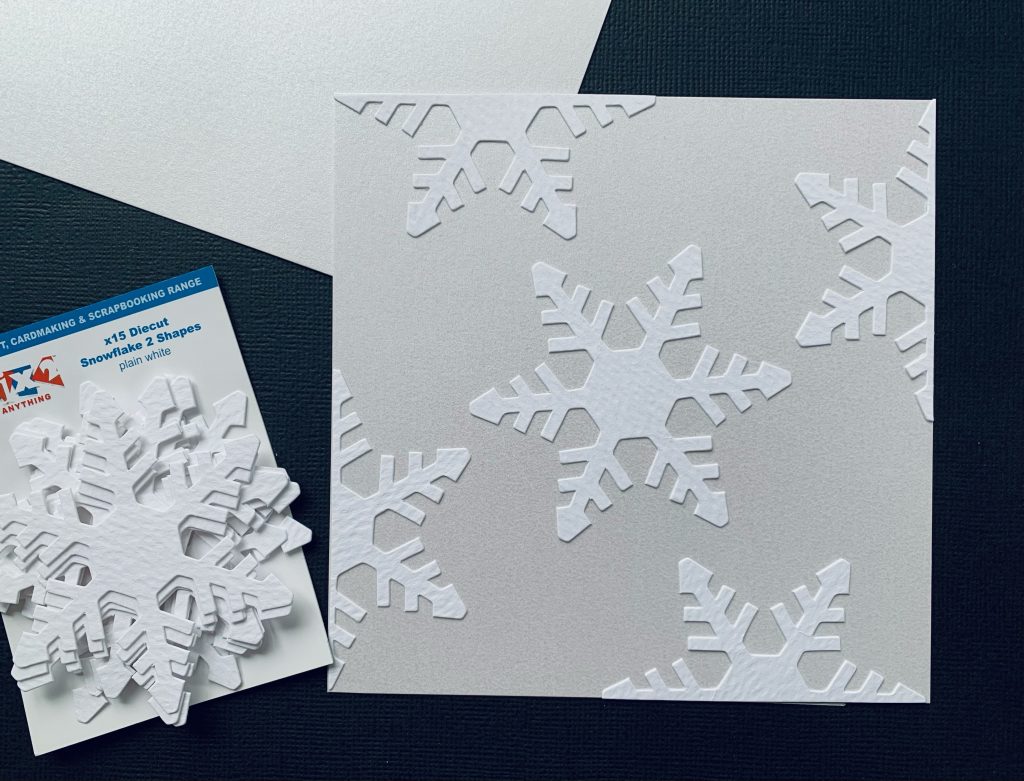
1 pack of Snowflake Die Cuts (10 per pack)
To help inspire your designs, the craft-tastic Elaine Mellor has kindly created an easy ‘How to’ guide using our Stix2 Christmas Card Bundle!
Materials you will need:
- Stix2 Christmas Card Bundle
- PVA Glue
- Ultra Fine Tip Glue Applicator
- 6 x 6 White Card & Envelope
- Permanent Tape Runner
- ‘Joy’ Word Die from Stamps by Me
- Sequins
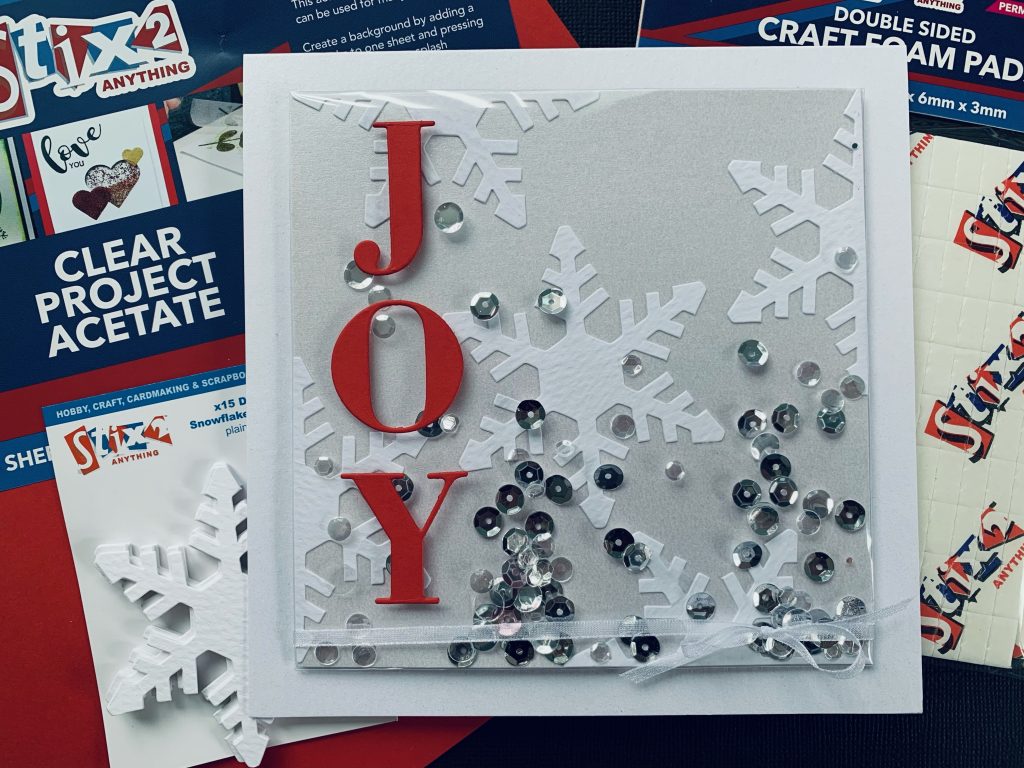
How to craft a Festive Shaker Christmas Card
Step 1: Cut a piece of the Snow White Pearlescent Card measuring 5 x 5 inches and a piece of the Clear Project Acetate 6 x 6.
Step 2: Take the 5 x 5 piece of Snow White Card.
Cut 2 Die Cut White Snowflakes in half and adhere to the edges of the Snow White Card and add another to the middle.
Step 3: Add Double Sided Tape on to the back of the Pearlescent Card around all 4 edges.
Fold the Acetate around 3 of the edges to create a pocket.
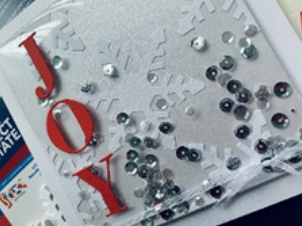
Sprinkle sequins into the pocket and seal the last edge down.
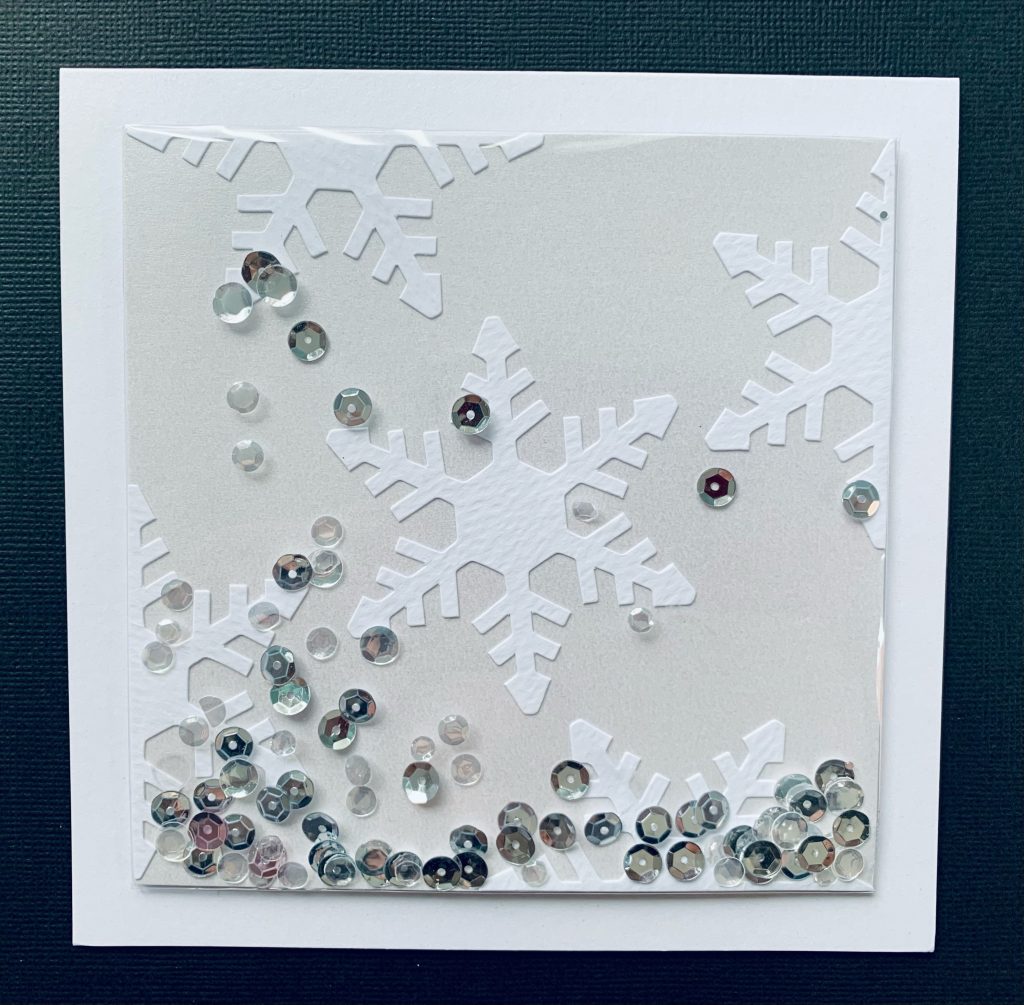
Step 4: Add 3D Foam Pads to the back of the shaker and adhere to the front of a white 6 x 6 inch card.
Step 5: Die cut the word ‘Joy’ from the Post Box Red card and glue to the front of the card using 3D PVA.
Add some ribbon and the card is finished.